
구글링을 하다가 재밌어보여서 한번 풀어봤는데 괜찮은 예제인 것 같다.
여기서 다운받을 수 있다.
총 18개의 플레그를 얻어야 하므로 상당히 다 적으면 상당히 길어질 것 같아서 2개로 나눠서 적으려고 한다.
Login
아래와 같이 플레그를 입력하는 부분이 보인다.

jadx를 이용하여 FlagOneLoginActivtiy로 가보면 submitFlag() 를 볼 수 있다. if 조건문에서 어떤 함수를 통해서 사용자의 입력 값과 F1ag_0n3 문자열을 비교하는 것처럼 보인다.
1
2
3
4
5
6
7
8
9
10
11
12
// FlagOneLoginActivtiy: 55

public final void submitFlag(View view) {
        EditText editText = (EditText) findViewById(R.id.editText2);
        d.s.d.g.d(editText, "editText2");
        if (d.s.d.g.a(editText.getText().toString(), "F1ag_0n3")) {
            Intent intent = new Intent(this, FlagOneSuccess.class);
            new FlagsOverview().J(true);
            new j().b(this, "flagOneButtonColor", true);
            startActivity(intent);
        }
    }
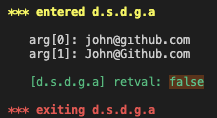
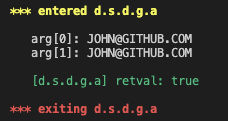
실제로 d.s.d.g.a() 를 보면 obj, obj2 2개의 파라미터가 같은지 비교하고 같으면 true를 반환한다. 따라서 플레그는 F1ag_0n3 이다.
1
2
3
4
// g: 10
public static boolean a(Object obj, Object obj2) {
        return obj == null ? obj2 == null : obj.equals(obj2);
    }
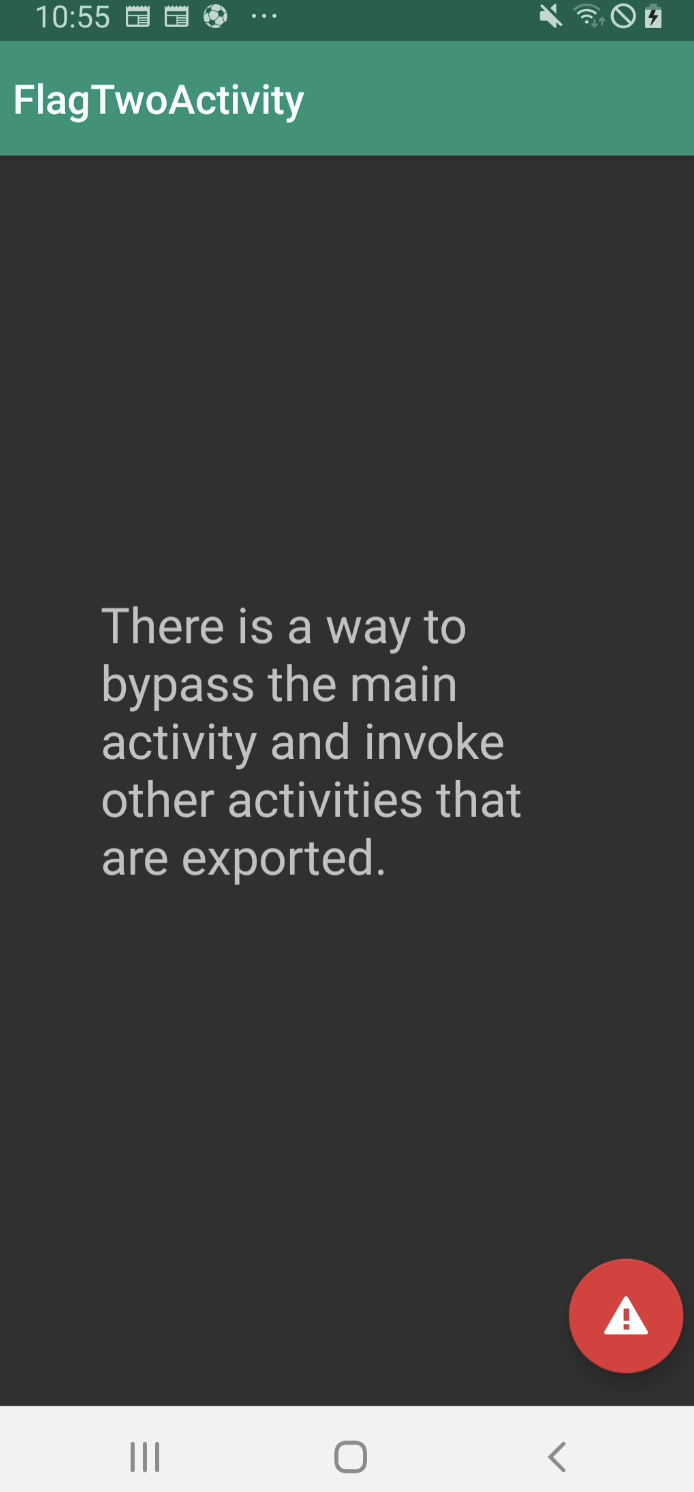
Exported Activity
exported된 다른 액티비티를 실행하라고 한다.
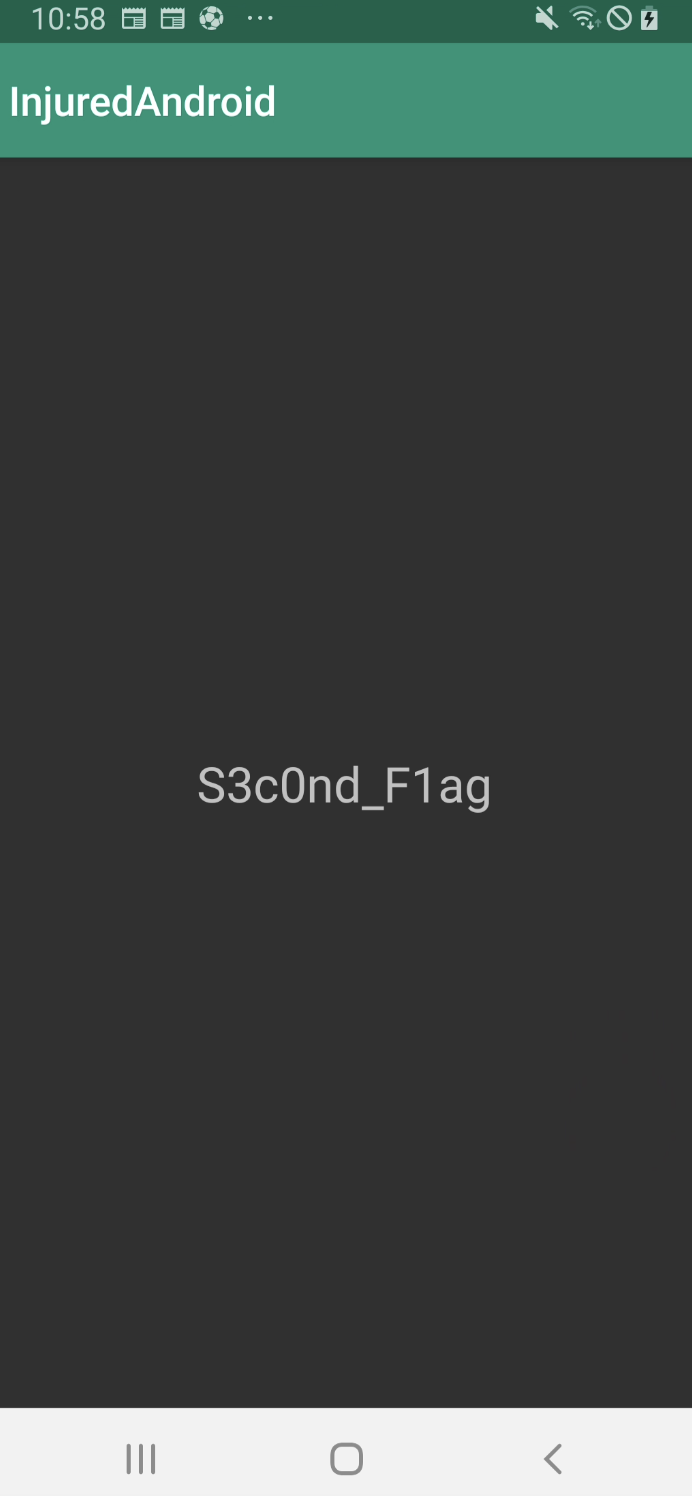
우연치 않게 b25lActivity가 flag 2와 관련되어있는 것을 찾았다.
1
2
3
4
5
6
7
8
9
10
11
12
13
14
15
16
package b3nac.injuredandroid;

import android.os.Bundle;

/* loaded from: classes.dex */
public final class b25lActivity extends androidx.appcompat.app.c {
    /* JADX INFO: Access modifiers changed from: protected */
    @Override // androidx.appcompat.app.c, androidx.fragment.app.d, androidx.activity.ComponentActivity, androidx.core.app.e, android.app.Activity
    public void onCreate(Bundle bundle) {
        super.onCreate(bundle);
        setContentView(R.layout.activity_b25l);
        j.j.a(this);
        new FlagsOverview().M(true);
        new j().b(this, "flagTwoButtonColor", true);
    }
}
am 명령어를 통해 해당 액티비티를 실행시켜주면 플레그를 얻을 수 있다.
1
am start -n b3nac.injuredandroid/b3nac.injuredandroid.b25lActivity
Resources
flag 1과 비슷하지만 이번에는 R.string.cmVzb3VyY2VzX3lv으로 문자열 리소스를 참조한다.
1
2
3
4
5
6
7
8
9
10
11
12
// FlagThreeActivity: 55

public final void submitFlag(View view) {
        EditText editText = (EditText) findViewById(R.id.editText2);
        d.s.d.g.d(editText, "editText2");
        if (d.s.d.g.a(editText.getText().toString(), getString(R.string.cmVzb3VyY2VzX3lv))) {
            Intent intent = new Intent(this, FlagOneSuccess.class);
            new FlagsOverview().L(true);
            new j().b(this, "flagThreeButtonColor", true);
            startActivity(intent);
        }
    }
단순히 R 클래스로 가서 확인해보면 정수형태로 저장되어 있어서 문자열을 확인하려면 res/values/strings.xml을 확인해야한다. 플레그는 F1ag_thr33 이다.

Login 2
FlagFourActivity 클래스에서 submitFlag()를 보면 마찬가지로 사용자의 입력값과 String 생성자를 이용하여 어떤 문자열을 비교한다.
1
2
3
4
5
6
7
8
9
10
11
12
13
14
15
//FlagFourActivity: 53

public final void submitFlag(View view) {
        EditText editText = (EditText) findViewById(R.id.editText2);
        d.s.d.g.d(editText, "editText2");
        String obj = editText.getText().toString();
        byte[] a2 = new g().a();
        d.s.d.g.d(a2, "decoder.getData()");
        if (d.s.d.g.a(obj, new String(a2, d.w.c.f2418a))) {
            Intent intent = new Intent(this, FlagOneSuccess.class);
            new FlagsOverview().I(true);
            new j().b(this, "flagFourButtonColor", true);
            startActivity(intent);
        }
    }
String 생성자의 첫 번째 인자 값인 a2는 g.a()에 의해서 생성되는 base64 인코딩 형태의 문자열이다.
1
2
3
4
5
6
7
8
9
10
11
12
13
14
package b3nac.injuredandroid;

import android.util.Base64;

/* loaded from: classes.dex */
public class g {

    /* renamed from: a  reason: collision with root package name */
    private byte[] f1468a = Base64.decode("NF9vdmVyZG9uZV9vbWVsZXRz", 0);

    public byte[] a() {
        return this.f1468a;
    }
}
두 번째 인자 값은 Charset 타입으로 제일 마지막에 ISO-8859-1 으로 설정한다.
1
2
3
4
5
6
7
8
9
10
11
12
13
14
15
16
17
18
19
20
21
package d.w;

import java.nio.charset.Charset;

/* loaded from: classes.dex */
public final class c {

    /* renamed from: a  reason: collision with root package name */
    public static final Charset f2418a;

    static {
        Charset forName = Charset.forName("UTF-8");
        d.s.d.g.d(forName, "Charset.forName(\"UTF-8\")");
        f2418a = forName;
        d.s.d.g.d(Charset.forName("UTF-16"), "Charset.forName(\"UTF-16\")");
        d.s.d.g.d(Charset.forName("UTF-16BE"), "Charset.forName(\"UTF-16BE\")");
        d.s.d.g.d(Charset.forName("UTF-16LE"), "Charset.forName(\"UTF-16LE\")");
        d.s.d.g.d(Charset.forName("US-ASCII"), "Charset.forName(\"US-ASCII\")");
        d.s.d.g.d(Charset.forName("ISO-8859-1"), "Charset.forName(\"ISO-8859-1\")");
    }
}
파이썬으로 문자열을 디코딩 해주었다.

Exported Broadcast Receiver
Broadcast Receiver란?
말 그대로 브로드캐스트를 수신하는 역할을 한다. 예를 들어 핸드폰에 전원이 연결되면 ACTION_POWER_CONNECTED 브로드캐스트를 사용할 수 있는데 리시버가 정의되어있다면 이에 따른 어떤 동작을 할 수 있다.
분석
아래와 같이 FlagFiveActivity에서 sendBroadcast() 부분을 찾을 수 있었고
1
2
3
4
5
// FlagFiveActivity: 18

public void F() {
        sendBroadcast(new Intent("com.b3nac.injuredandroid.intent.action.CUSTOM_INTENT"));
    }
FlagFiveReceiver를 분석해보면 엑티비티를 3번 방문하여 플레그를 얻을 수 있다.
1
2
3
4
5
6
7
8
9
10
11
12
13
14
15
16
17
18
19
20
21
22
23
24
25
26
27
28
29
30
31
32
33
34
35
36
37
38
39
40
41
42
43
public final class FlagFiveReceiver extends BroadcastReceiver {
/* renamed from: a reason: collision with root package name */
private static int f1454a;
@Override // android.content.BroadcastReceiver
public void onReceive(Context context, Intent intent) {
String str;
int i;
String e;
String e2;
d.s.d.g.e(context, "context");
d.s.d.g.e(intent, "intent");
j.j.a(context);
int i2 = f1454a;
if (i2 == 0) {
StringBuilder sb = new StringBuilder();
e = d.w.h.e("\n Action: " + intent.getAction() + "\n\n ");
sb.append(e);
e2 = d.w.h.e("\n URI: " + intent.toUri(1) + "\n\n ");
sb.append(e2);
str = sb.toString();
d.s.d.g.d(str, "sb.toString()");
Log.d("DUDE!:", str);
} else {
str = "Keep trying!";
if (i2 != 1) {
if (i2 != 2) {
Toast.makeText(context, "Keep trying!", 1).show();
return;
}
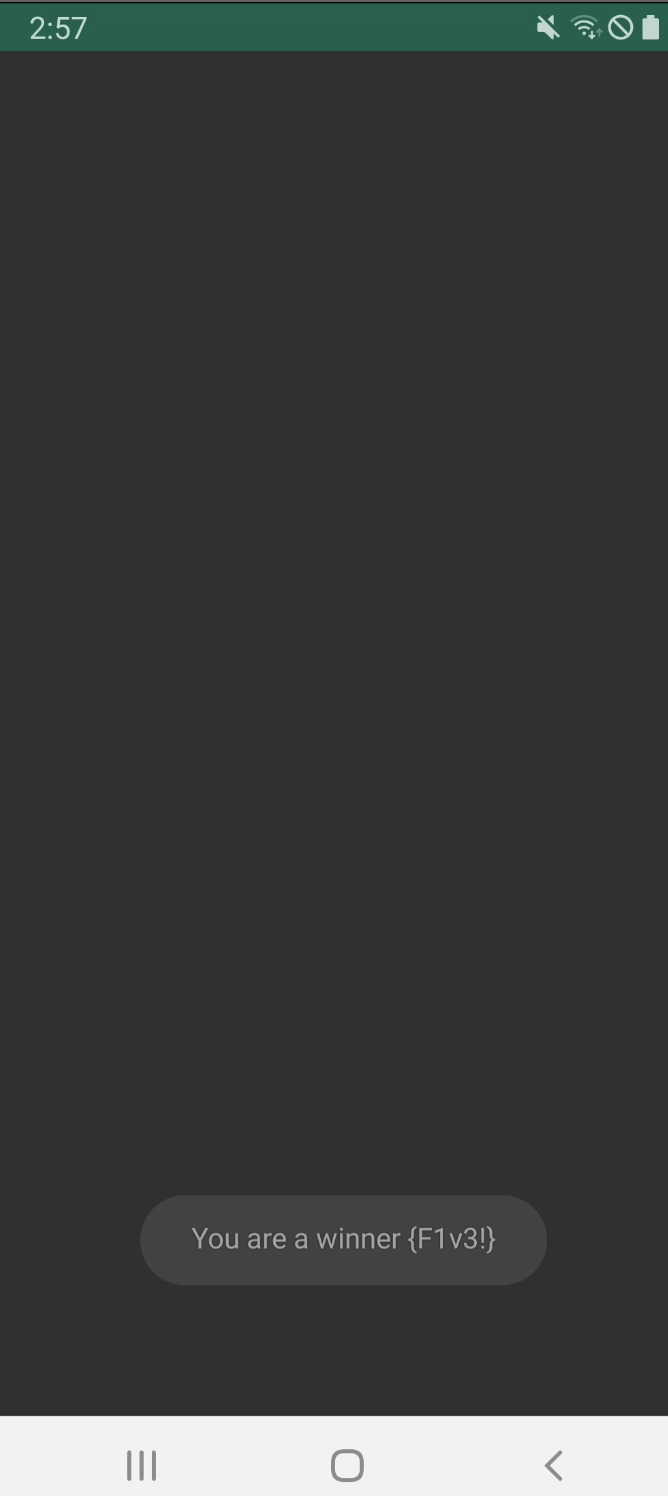
new FlagsOverview().H(true);
new j().b(context, "flagFiveButtonColor", true);
Toast.makeText(context, "You are a winner " + k.a("Zkdlt0WwtLQ="), 1).show();
i = 0;
f1454a = i;
}
}
Toast.makeText(context, str, 1).show();
i = f1454a + 1;
f1454a = i;
}
}
Login 3
이번에는 k.a()를 통해서 base64로 인코딩된 문자열을 복호화하는 것 같다.
1
2
3
4
5
6
7
8
9
10
11
12
//FlagSixLoginActivity: 57

public final void submitFlag(View view) {
        EditText editText = (EditText) findViewById(R.id.editText3);
        d.s.d.g.d(editText, "editText3");
        if (d.s.d.g.a(editText.getText().toString(), k.a("k3FElEG9lnoWbOateGhj5pX6QsXRNJKh///8Jxi8KXW7iDpk2xRxhQ=="))) {
            Intent intent = new Intent(this, FlagOneSuccess.class);
            FlagsOverview.G = true;
            new j().b(this, "flagSixButtonColor", true);
            startActivity(intent);
        }
    }
k.a() 에서 DES 방식으로 암호화된 문자열을 복호화하고 있었다.
1
2
3
4
5
6
7
8
9
10
11
12
13
14
15
16
17
18
19
20
21
22
23
24
25
26
27
public class k {

    /* renamed from: a  reason: collision with root package name */
    private static final byte[] f1472a = h.b();

    /* renamed from: b  reason: collision with root package name */
    private static final byte[] f1473b = h.a();

    public static String a(String str) {
        if (c(str)) {
            try {
                SecretKey generateSecret = SecretKeyFactory.getInstance("DES").generateSecret(new DESKeySpec(f1472a));
                byte[] decode = Base64.decode(str, 0);
                Cipher cipher = Cipher.getInstance("DES");
                cipher.init(2, generateSecret);
                return new String(cipher.doFinal(decode));
            } catch (InvalidKeyException | NoSuchAlgorithmException | InvalidKeySpecException | BadPaddingException | IllegalBlockSizeException | NoSuchPaddingException e) {
                e.printStackTrace();
            }
        } else {
            System.out.println("Not a string!");
        }
        return str;
    }

...
복호화에 필요한 key는 h.b()를 에서 단순히 문자열로 리턴되고 있다.
1
2
3
4
5
6
7
8
9
10
11
12
13
14
15
16
17
18
19
20
21
22
23
24
25
26
27
28
29
30
31
package b3nac.injuredandroid;

import android.util.Base64;

/* loaded from: classes.dex */
public class h {

    /* renamed from: a  reason: collision with root package name */
    private static byte[] f1469a = Base64.decode("Q2FwdHVyM1RoMXM=", 0);

    /* renamed from: b  reason: collision with root package name */
    private static byte[] f1470b = Base64.decode("e0NhcHR1cjNUaDFzVG9vfQ==", 0);

    /* renamed from: c  reason: collision with root package name */
    private static String f1471c = "9EEADi^^:?;FC652?5C@:5]7:C632D6:@]4@>^DB=:E6];D@?";

    /* JADX INFO: Access modifiers changed from: package-private */
    public static byte[] a() {
        return f1470b;
    }

    /* JADX INFO: Access modifiers changed from: package-private */
    public static byte[] b() {
        return f1469a;
    }

    /* JADX INFO: Access modifiers changed from: package-private */
    public static String c() {
        return f1471c;
    }
}
frida를 이용하여 cipher.doFinal() 을 후킹하는 스크립트를 통해서 플레그를 얻을 수 있다.
1
2
3
4
5
6
7
8
9
10
11
12
13
14
15
function hookCipherDoFinal() {
    var c = Java.use('javax.crypto.Cipher');
    var string = Java.use('java.lang.String');


    c.doFinal.overload('[B').implementation = function (arg1) {
        console.log(`\n`)
        console.log(`[+] arg1 => ${arg1}`)
        console.log(`Flag => ${string.$new(this.doFinal(arg1), 'utf-8')}`)

        return this.doFinal(arg1)
    }


}

SQLite
아이디와 패스워드를 입력받고 있었고 jVar 인스턴스의 c()에서 아이디와 패스워드를 가져오는 것 같았다.
1
2
3
4
5
6
7
8
9
10
11
12
13
14
15
16
17
18
19
20
21
22
//FlagSevenSqliteActivity: 57
public final void submitFlag(View view) {
        EditText editText = (EditText) findViewById(R.id.editText8);
        d.s.d.g.d(editText, "editText8");
        String obj = editText.getText().toString();
        EditText editText2 = (EditText) findViewById(R.id.editText7);
        d.s.d.g.d(editText2, "editText7");
        String obj2 = editText2.getText().toString();
        j jVar = new j();
        String c2 = jVar.c("flagSevenEncrypted", "");
        String c3 = jVar.c("flagSevenPasswordEncrypted", "");
        if (!d.s.d.g.a(obj, c2) || !d.s.d.g.a(obj2, c3)) {
            Toast.makeText(this, "Try again! :D", 0).show();
            return;
        }
        FlagsOverview.H = true;
        j jVar2 = new j();
        Context applicationContext = getApplicationContext();
        d.s.d.g.d(applicationContext, "applicationContext");
        jVar2.b(applicationContext, "flagSevenButtonColor", true);
        F();
    }
frida를 이용하여 jVar.c()를 후킹하면 금방 크리덴셜을 알 수 있다. -> S3V3N_11:hunter2
이렇게 풀면 재미가 반감되니 정석적으로 풀어보자.
onCreate 부분에서 db에 값을 넣는 부분을 볼 수 있다.
1
2
3
4
5
6
7
8
9
10
11
12
13
14
15
16
17
18
19
//FlagSevenSqliteActivity: 157

@Override // androidx.appcompat.app.c, androidx.fragment.app.d, androidx.activity.ComponentActivity, androidx.core.app.e, android.app.Activity
    public void onCreate(Bundle bundle) {
        super.onCreate(bundle);
        setContentView(2131427370);
        C((Toolbar) findViewById(i.toolbar));
        j.j.a(this);
        H();
        ((FloatingActionButton) findViewById(i.fab)).setOnClickListener(new a());
        SQLiteDatabase writableDatabase = this.x.getWritableDatabase();
        ContentValues contentValues = new ContentValues();
        contentValues.put("title", Base64.decode("VGhlIGZsYWcgaGFzaCE=", 0));
        contentValues.put("subtitle", Base64.decode("MmFiOTYzOTBjN2RiZTM0MzlkZTc0ZDBjOWIwYjE3Njc=", 0));
        writableDatabase.insert("Thisisatest", null, contentValues);
        contentValues.put("title", Base64.decode("VGhlIGZsYWcgaXMgYWxzbyBhIHBhc3N3b3JkIQ==", 0));
        contentValues.put("subtitle", h.c());
        writableDatabase.insert("Thisisatest", null, contentValues);
    }
/data/data/b3nac.injuredandroid/databases/ 에 있는 Thisisatest.db를 로컬로 복사한 뒤 sqlite3 명령어를 통해 열어보았다.
그러면 아래와 같이 md5와 ROT으로 암호화된 문자열들이 보인다.

해시를 crackstation에서 검색해보면 패스워드에 해당하는 hunter2임을 알 수 있다.

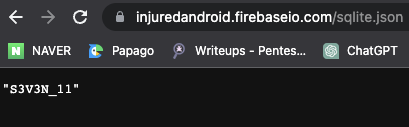
9EEADi^^:?;FC652?5C@:5]7:C632D6:@]4@>^DB=:E6];D@?는 ROT47로 복호화하니 https://injuredandroid.firebaseio.com/sqlite.json였고 해당 경로에서 아이디를 확인할 수 있었다.
AWS
몰라서 깃허브에서 롸업을 봤다. 근데 strings.xml 파일에서 찾으라는데 ID랑 SECRET이 지워져 있는데 어떻게 아래 커맨드를 떠올려야 하는 건지 모르겠다. 🙃
1
aws s3 ls s3://injuredandroid --no-sign-request
Firebase
생성자 부분에서 인코딩된 문자열을 디코딩해보면 flags/ 라고 나온다.
1
2
3
4
5
6
7
8
9
10
11
12
13
14
15
16
17
18
//FlagNineFirebaseActivity: 92

public FlagNineFirebaseActivity() {
        byte[] decode = Base64.decode("ZmxhZ3Mv", 0);
        this.y = decode;
        d.s.d.g.d(decode, "decodedDirectory");
        Charset charset = StandardCharsets.UTF_8;
        d.s.d.g.d(charset, "StandardCharsets.UTF_8");
        this.z = new String(decode, charset);
        com.google.firebase.database.f b2 = com.google.firebase.database.f.b();
        d.s.d.g.d(b2, "FirebaseDatabase.getInstance()");
        com.google.firebase.database.d d2 = b2.d();
        d.s.d.g.d(d2, "FirebaseDatabase.getInstance().reference");
        this.A = d2;
        com.google.firebase.database.d h = d2.h(this.z);
        d.s.d.g.d(h, "database.child(refDirectory)");
        this.B = h;
    }
그리고 strings.xml에서 firebase url을 찾을 수 있었다.

따라서 https://injuredandroid.firebaseio.com/flags 엔드포인트로 생각했지만 힌트를 보니 .json을 이용하라고 써있어서 /flags.json으로 요청하니 플레그가 나왔다.

하지만 submitFlag 메소드 부분을 보면 아래와 같이 입력값을 base64 디코딩을 하기 때문에 플레그를 인코딩하여 입력해야하므로 최종적인 입력값은 W25pbmUhX2ZsYWdd이다.
1
2
3
4
5
6
7
8
9
10
11
//FlagNineFirebaseActivity: 132

public final void submitFlag(View view) {
        EditText editText = (EditText) findViewById(R.id.editText2);
        d.s.d.g.d(editText, "editText2");
        byte[] decode = Base64.decode(editText.getText().toString(), 0);
        d.s.d.g.d(decode, "decodedPost");
        Charset charset = StandardCharsets.UTF_8;
        d.s.d.g.d(charset, "StandardCharsets.UTF_8");
        this.B.b(new b(new String(decode, charset)));
    }
Unicode
이 단계는 후킹을하면 플레그를 쉽게 찾을 수 있었지만 롸업을 보니 문제가 조금 달라진 것 같았다.
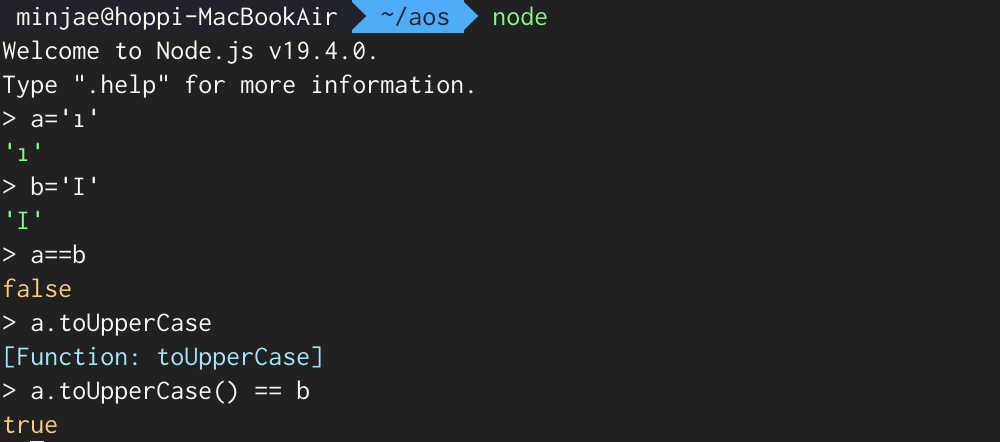
롸업에서는 toUpperCase() 에서 발생하는 재미있는 동작을 이용하라고 한다.
이 문제에서 입력받은 사용자 입력 값(플레그)를 대문자로 바꾸는데 아래와 같이 터키어 ı 가 toUpperCase()를 거치면 영문 대문자 I 로 바뀐다.
예전에 워게임 문제에서도 본 적이 있는데 이 때는 Kelvin Sign(U+212A)이 toLowerCase()를 만나면서 소문자 k로 바뀌었다.
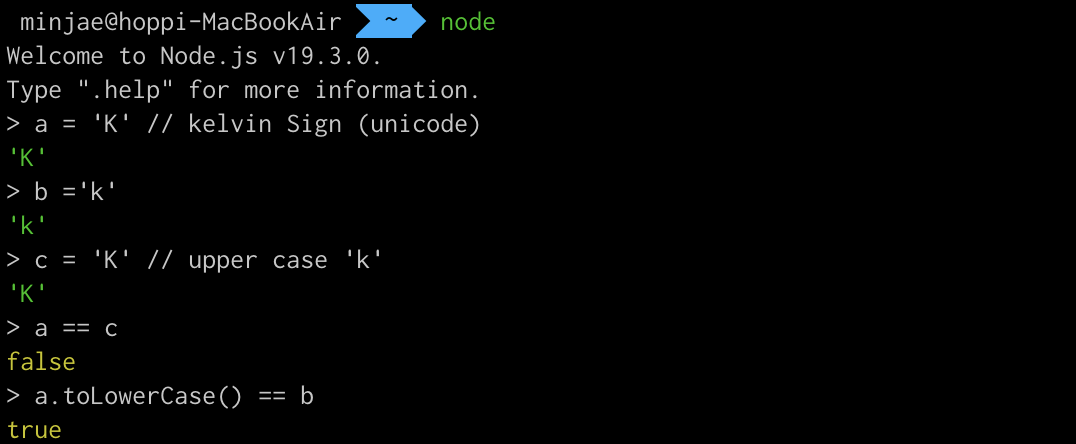
toUpperCase() 경우도 해보니 잘 된다.
Reference에 있는 글을 읽어보면 더 자세하게 알 수 있다.
Comments powered by Disqus.